Proxy Management — Add Proxy
by · MasLogin · October 20, 2025
MasLogin supports configuring the most common proxy types on the market, helping you switch IPs in real time. Below is the setup guide.
1. Add a Proxy
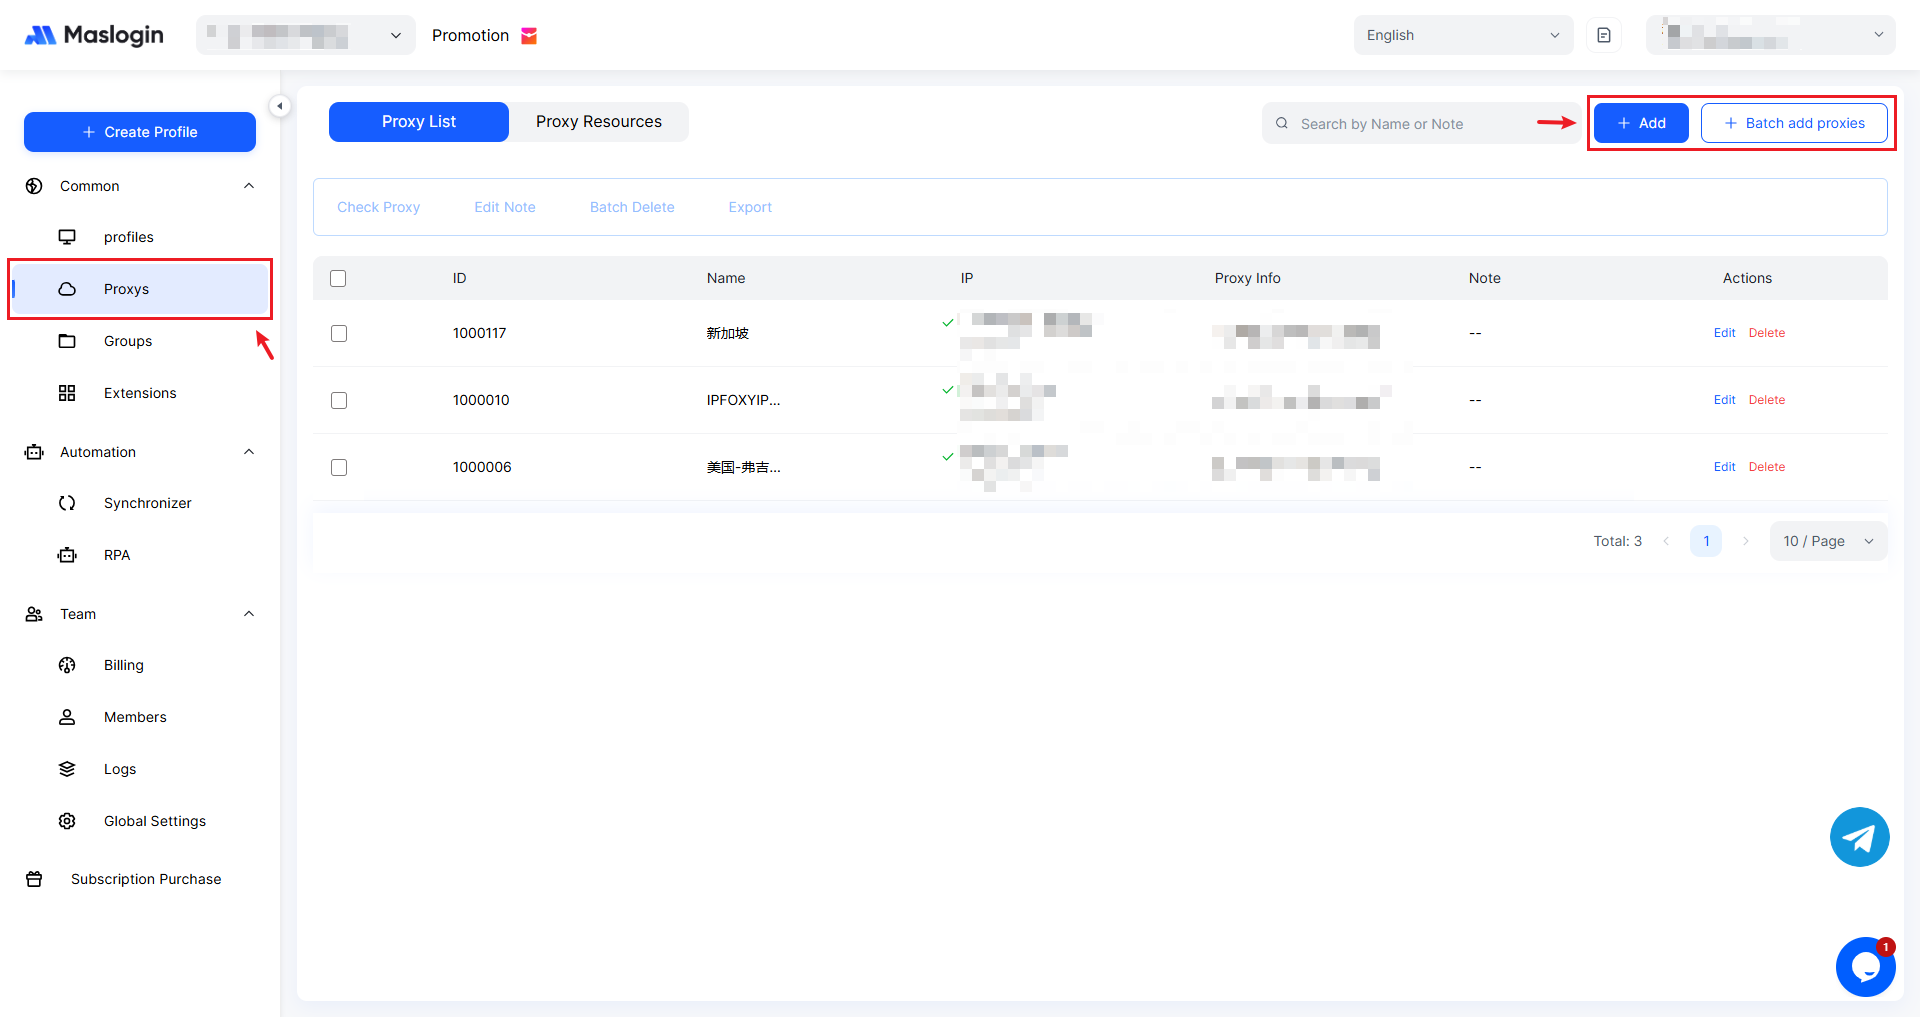
Open and sign in to MasLogin. In the left sidebar, find 【Proxy】. On the proxy list page, click 【Add】.
2. Fill in Proxy Details
Choose the proxy type based on the proxy you purchased and complete the required fields.
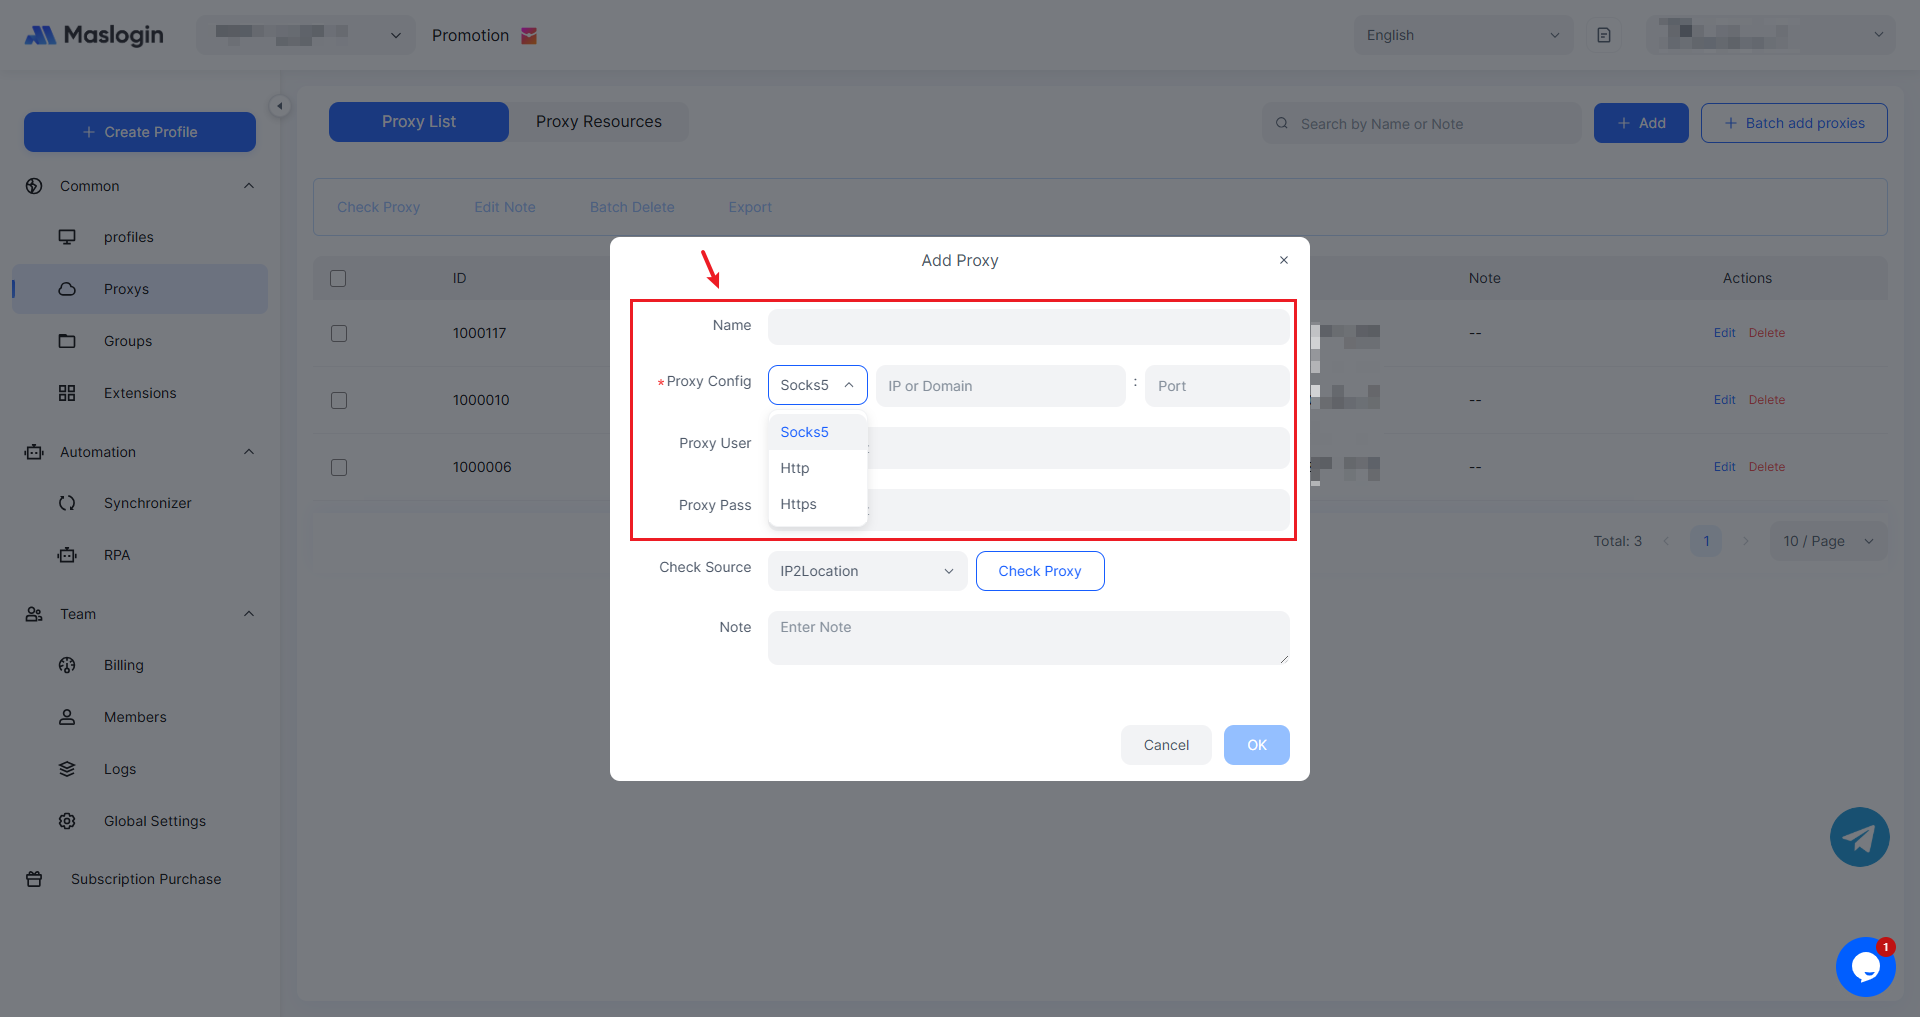
【Proxy Config】: MasLogin currently supports SOCKS5, HTTP, and HTTPS proxy types.
【IP or Domain】: Enter the proxy host information you purchased. (A proxy host refers to the proxy server—an intermediary device or software in the network that relays traffic between the user and the internet.)
【Port】: Enter the proxy port information you purchased. (A proxy port is the port on the proxy server that is open for communication. In networking, each service or application uses specific ports to communicate. The proxy port allows you to connect to the internet through the proxy server and transfer data.)
【Proxy User】: Enter the proxy account information you purchased.
【Proxy Pass】: Enter the proxy password information you purchased.
【Note】: Add additional details for easier management.
3. Check the Proxy
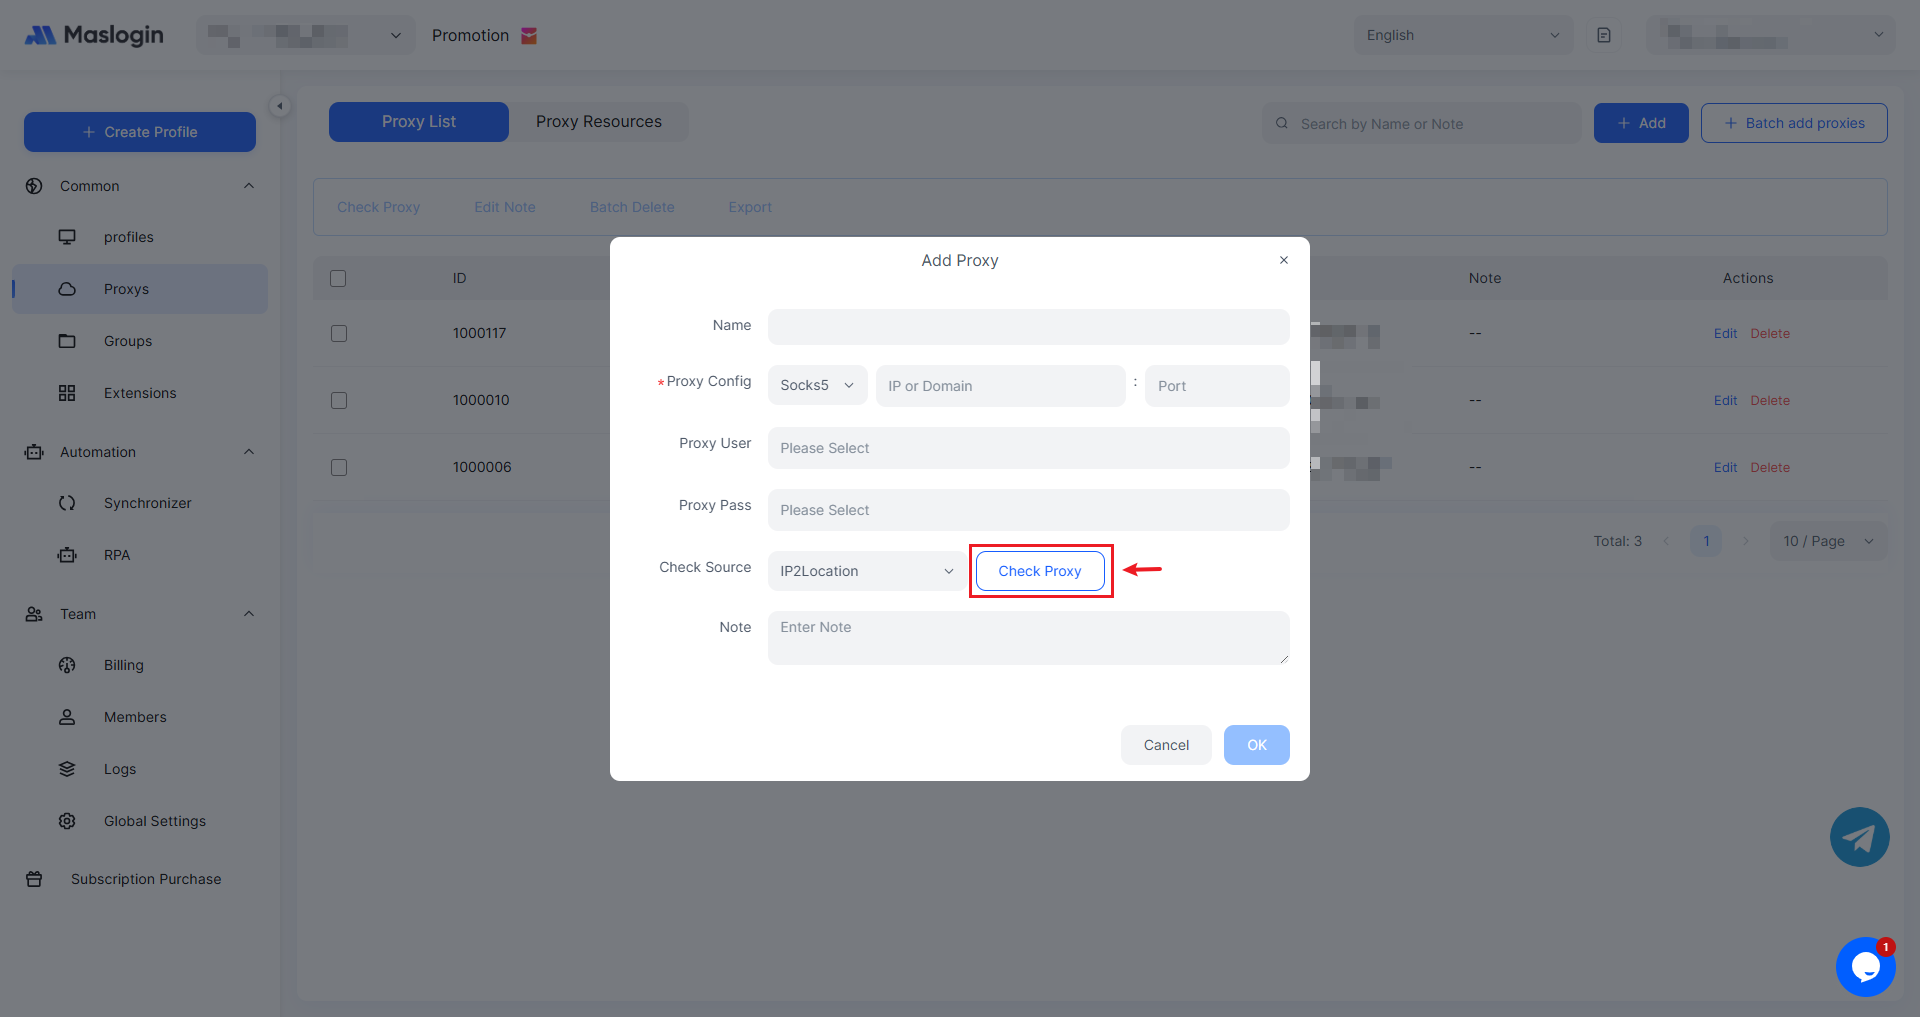
After filling in the proxy details, click 【Check Proxy】 to confirm whether the proxy connects successfully. If it fails, verify that the proxy details are correct and that the proxy you purchased is available.
4. View Added Proxies
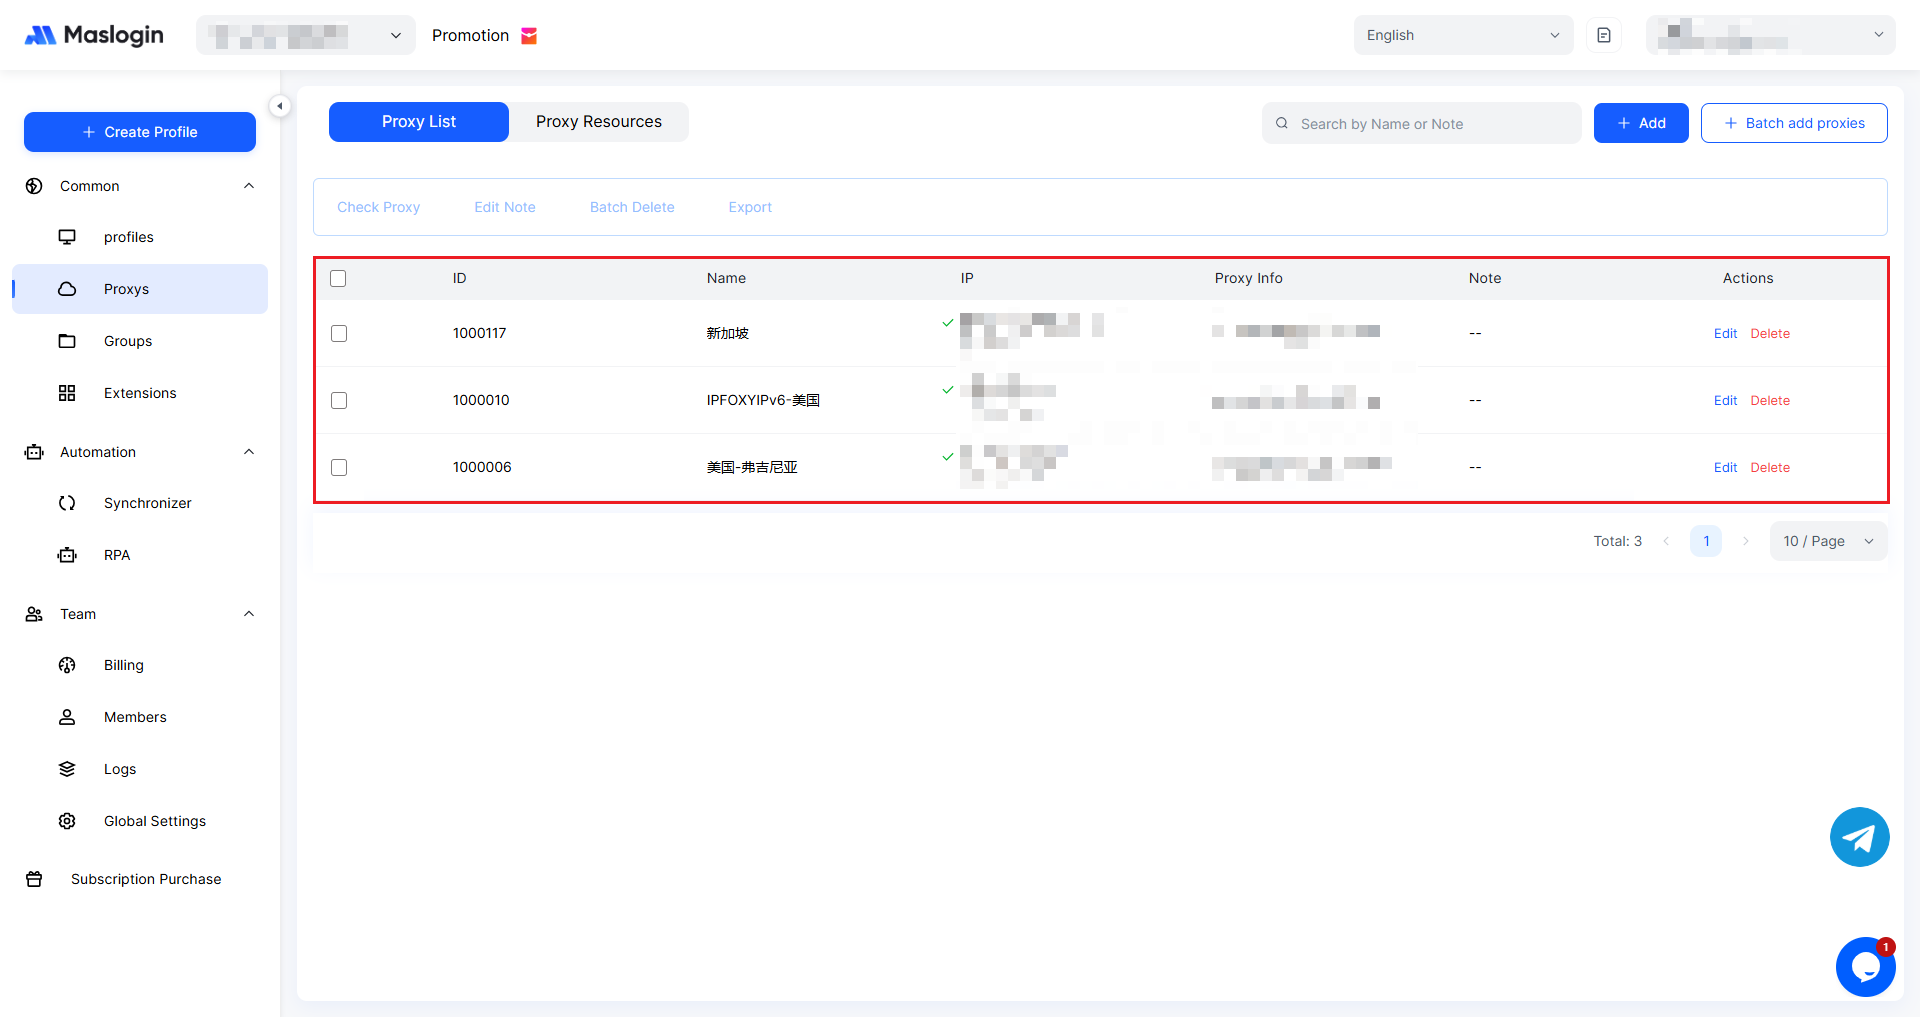
After creating the proxy, return to the proxy list to view the proxy details you added.
5. Configure a Proxy for Use
You can configure a proxy in an existing profile or when creating a new profile.
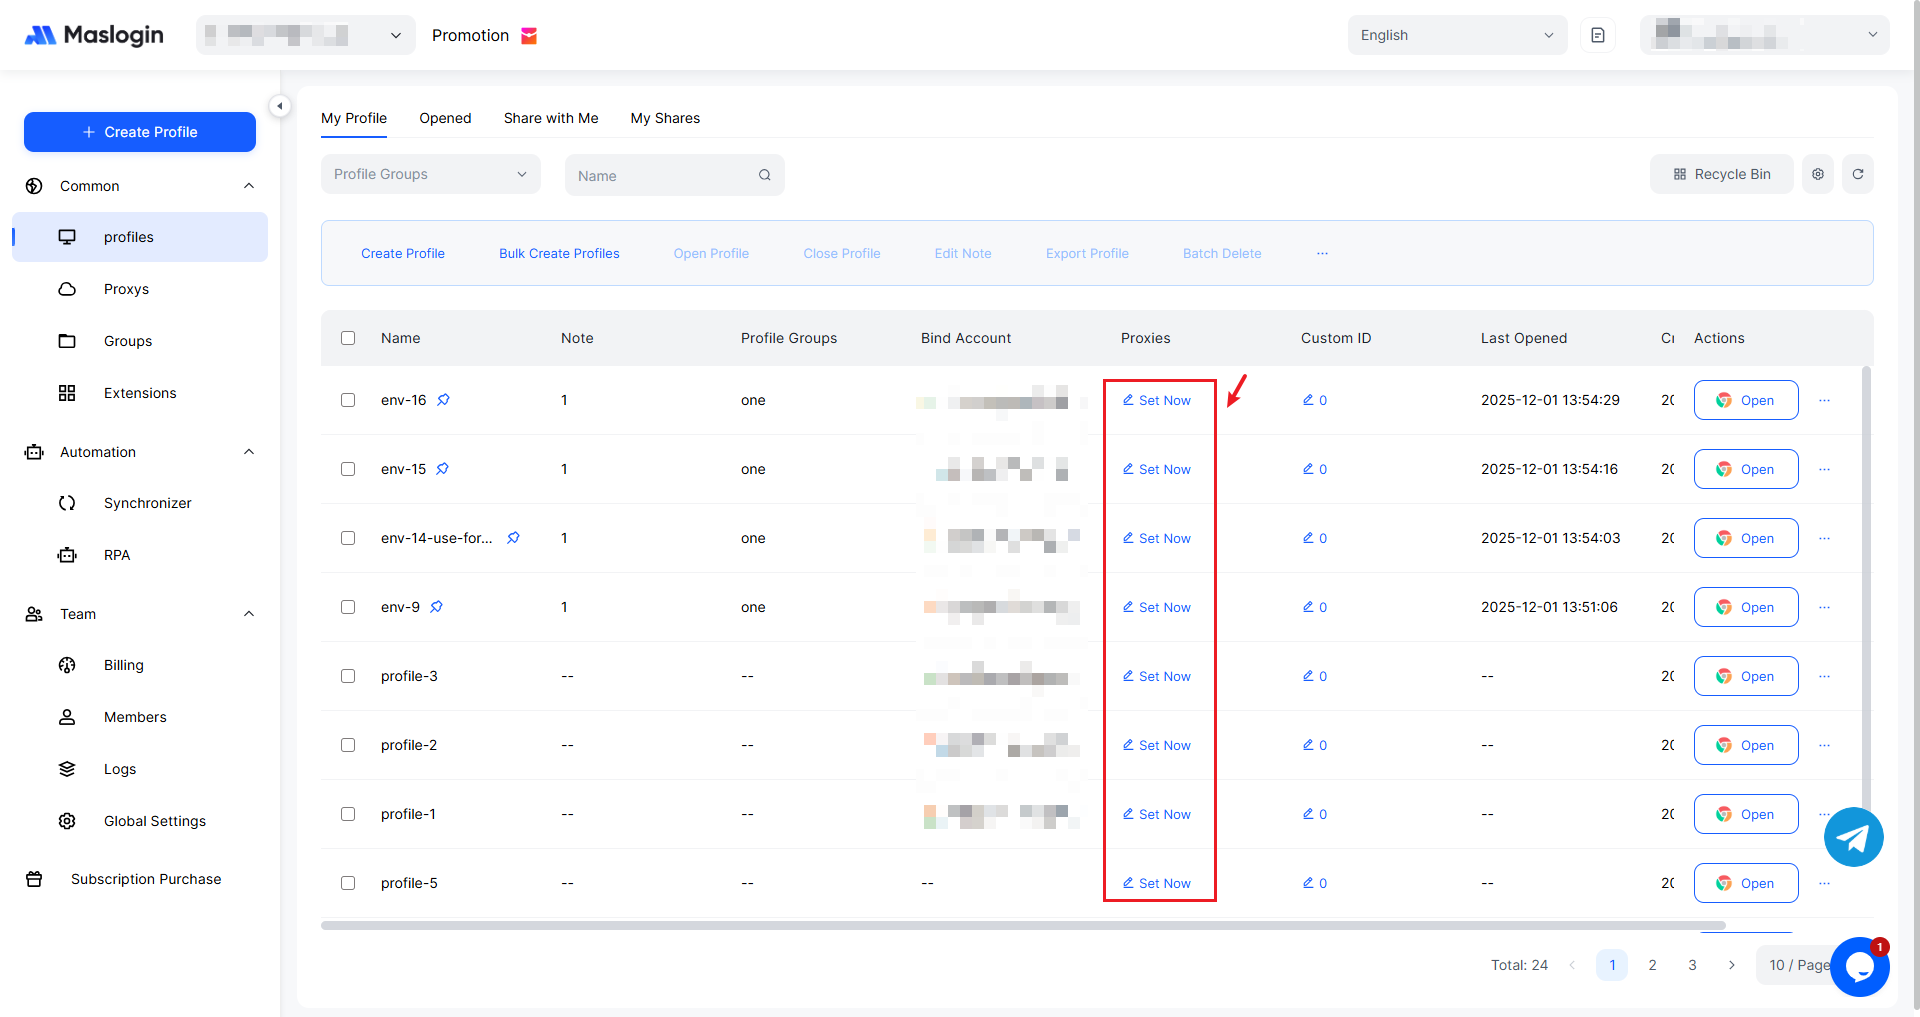
You can also add and use a proxy directly in 【Edit Proxy】 following the steps above.
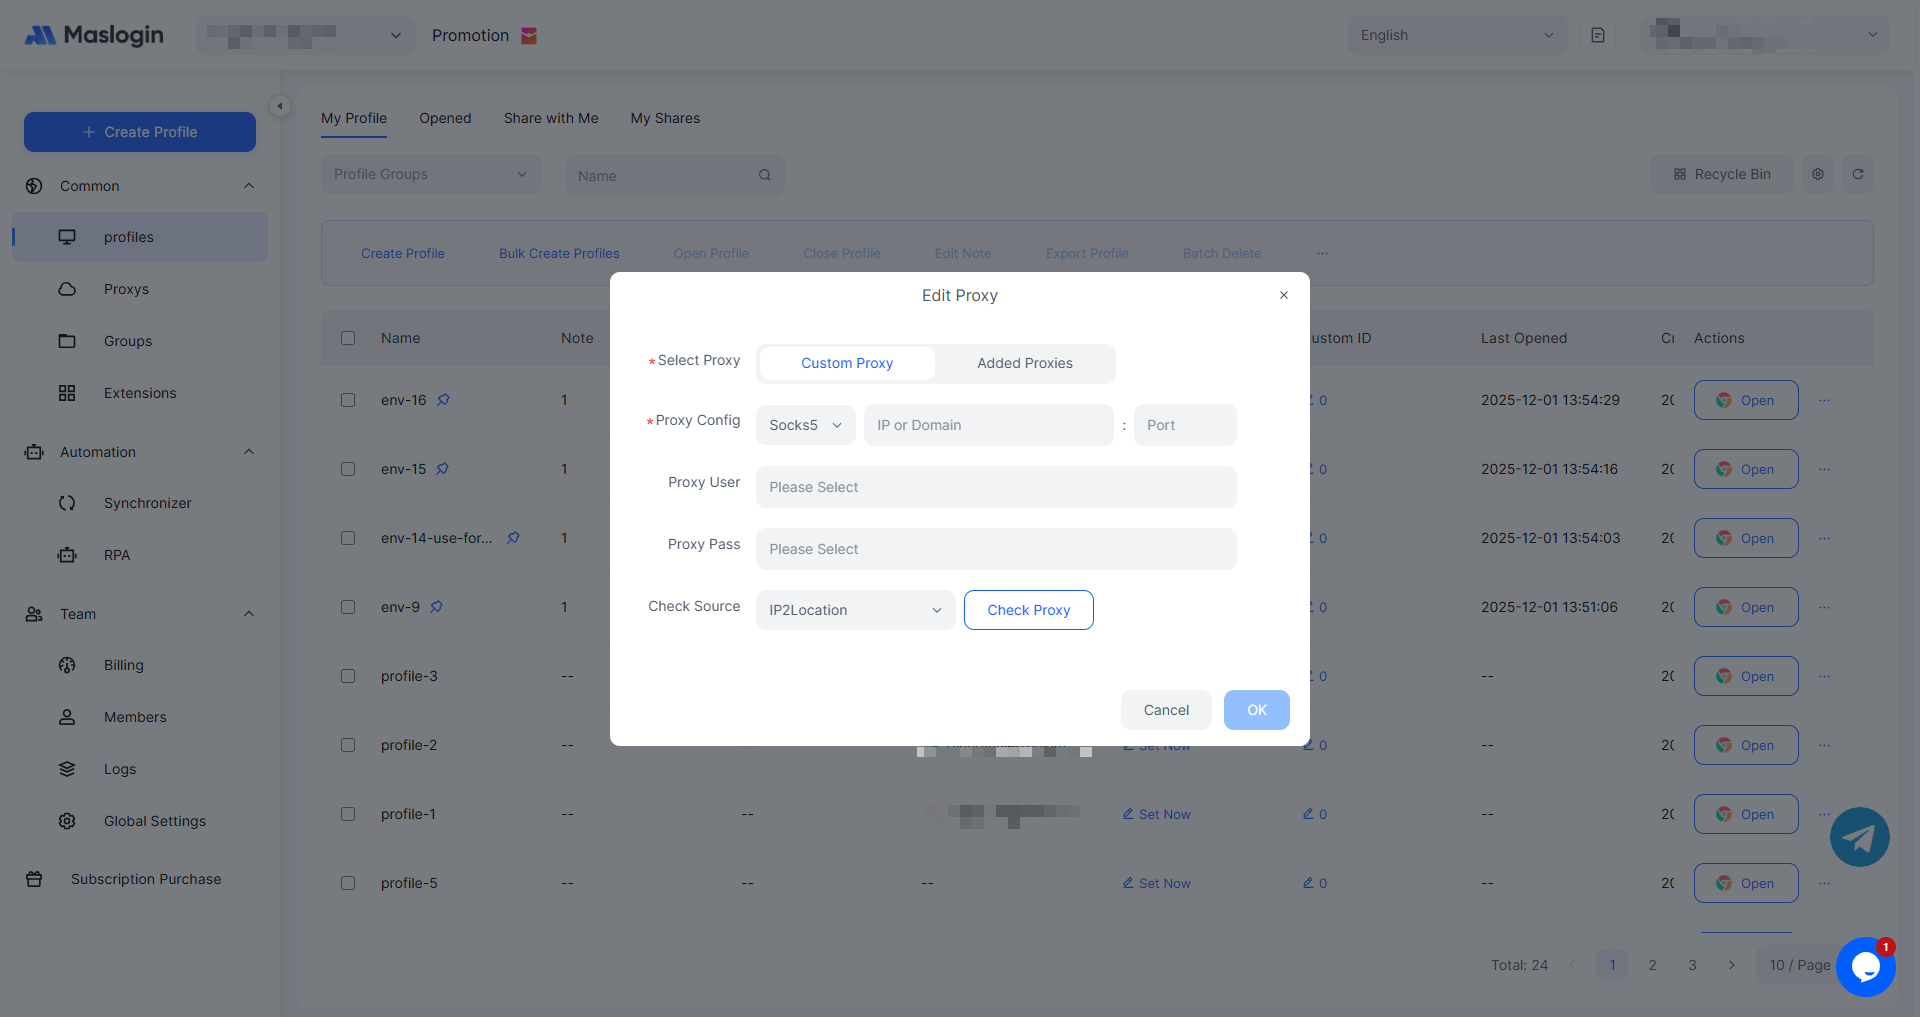
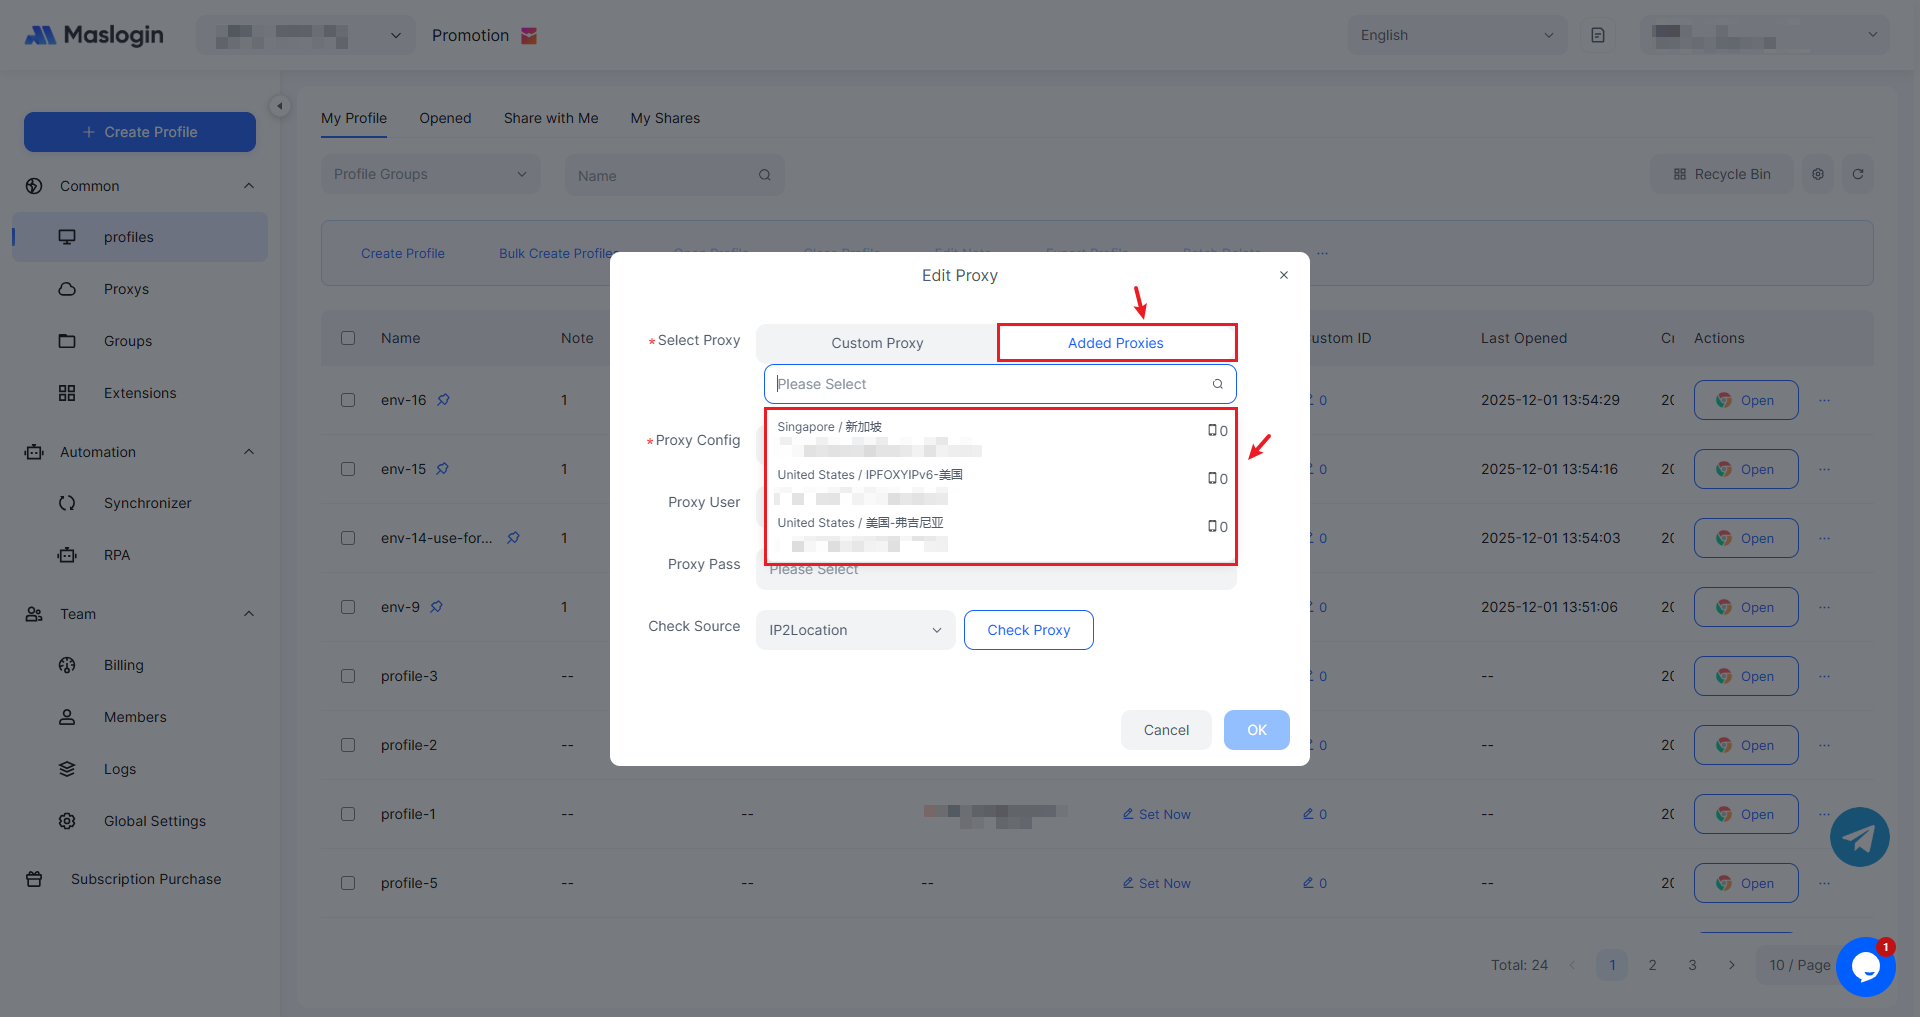
Proxies listed in the table can be selected and used directly—no need to add them again.
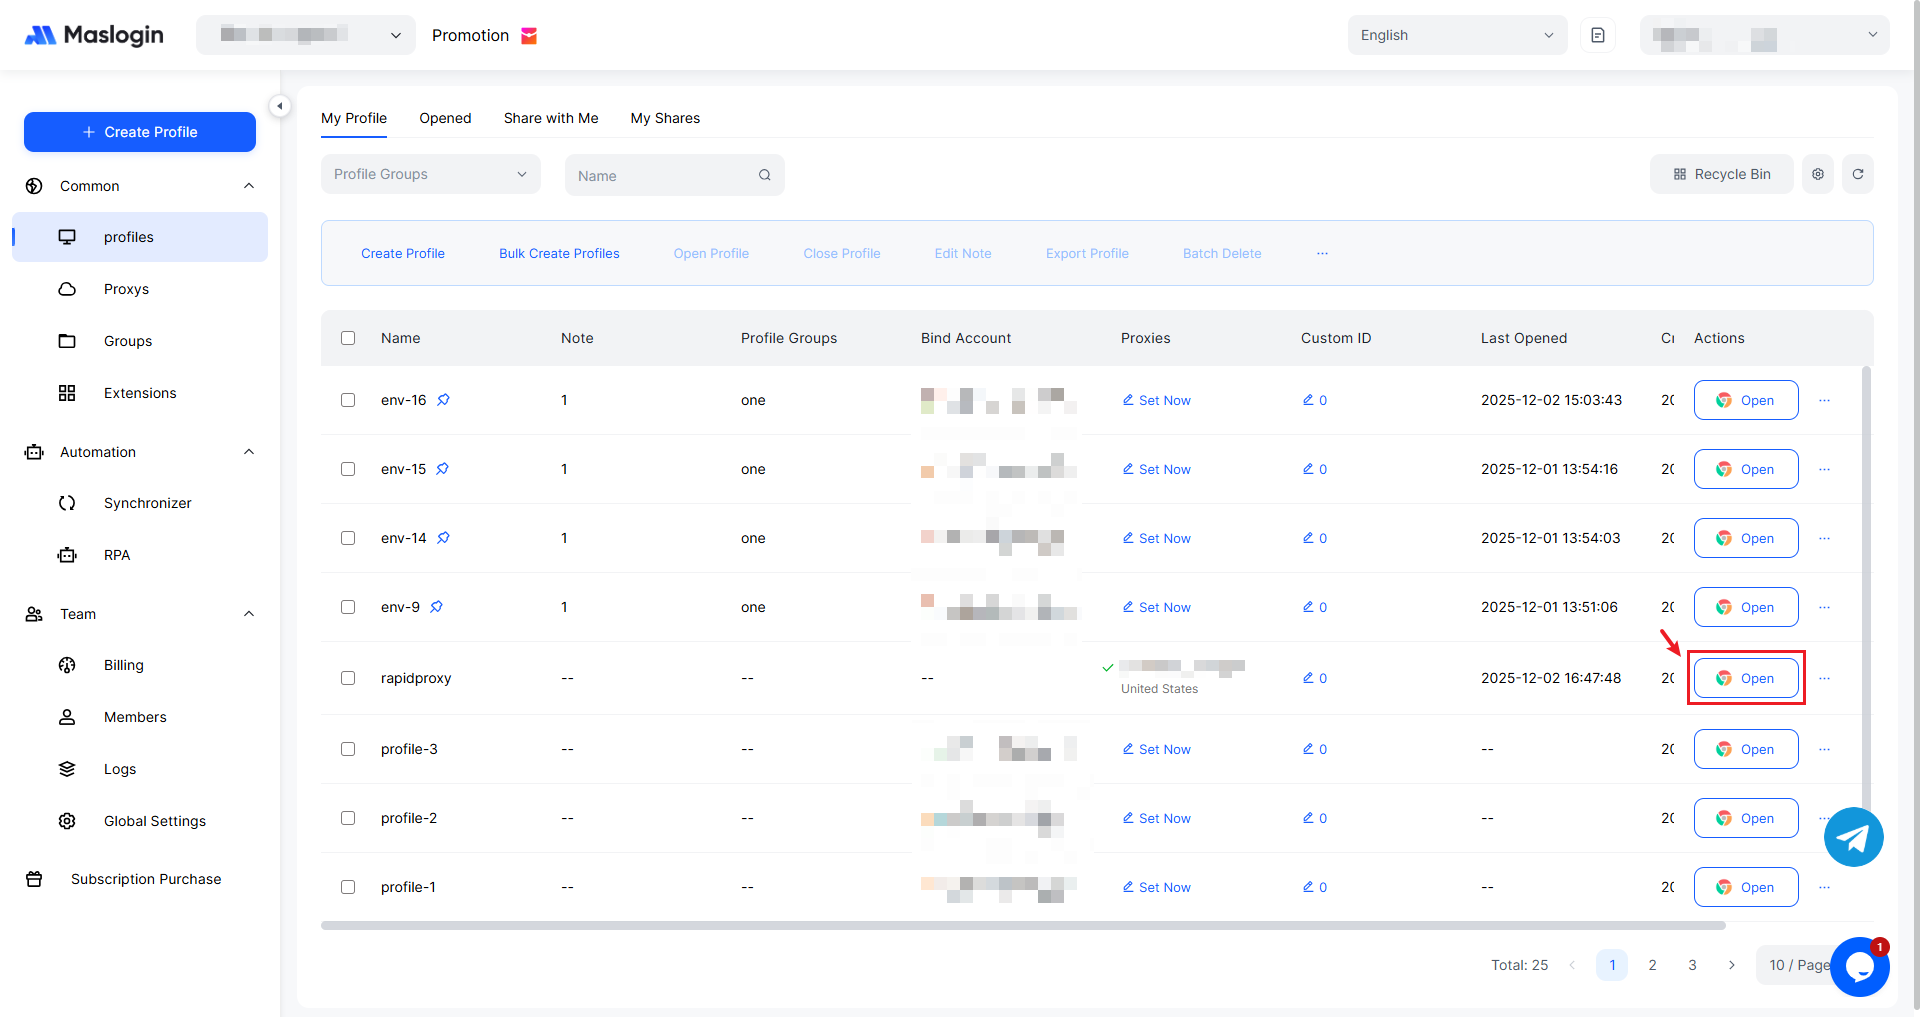
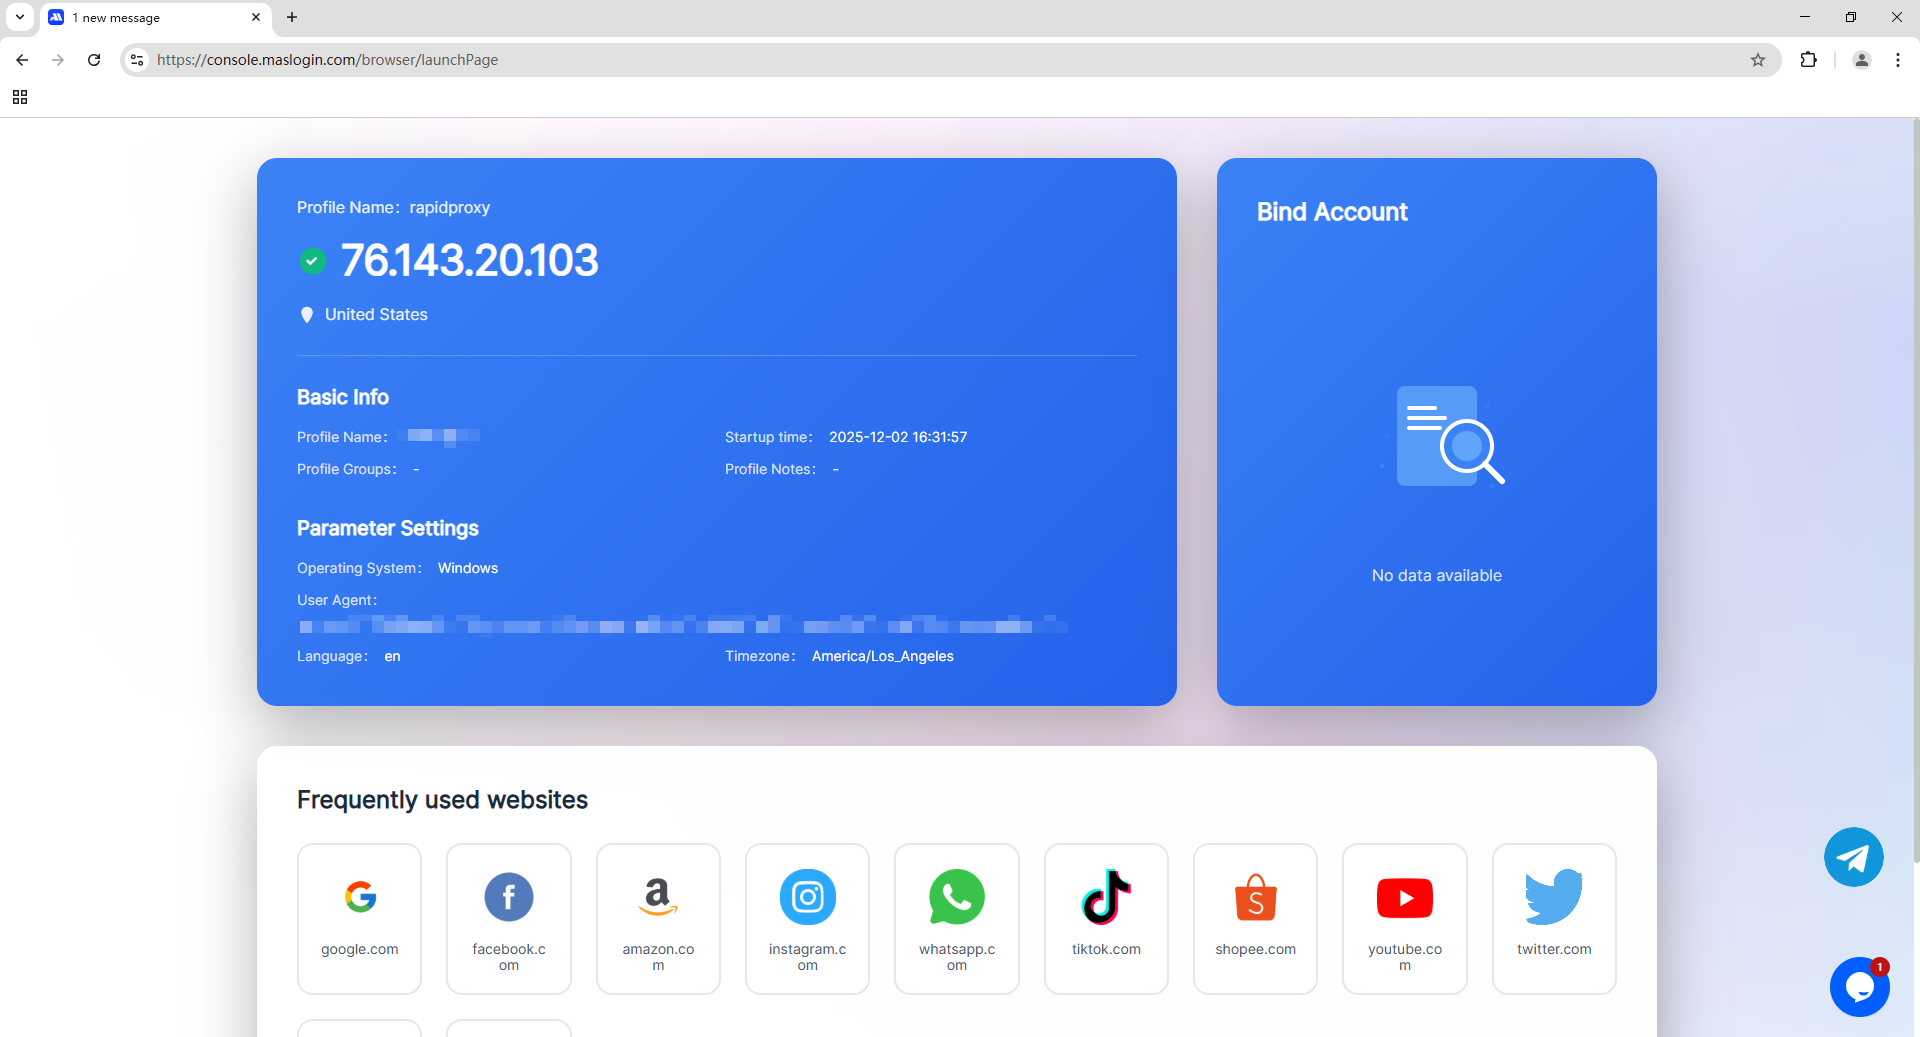
Click Open to launch the configured environment.
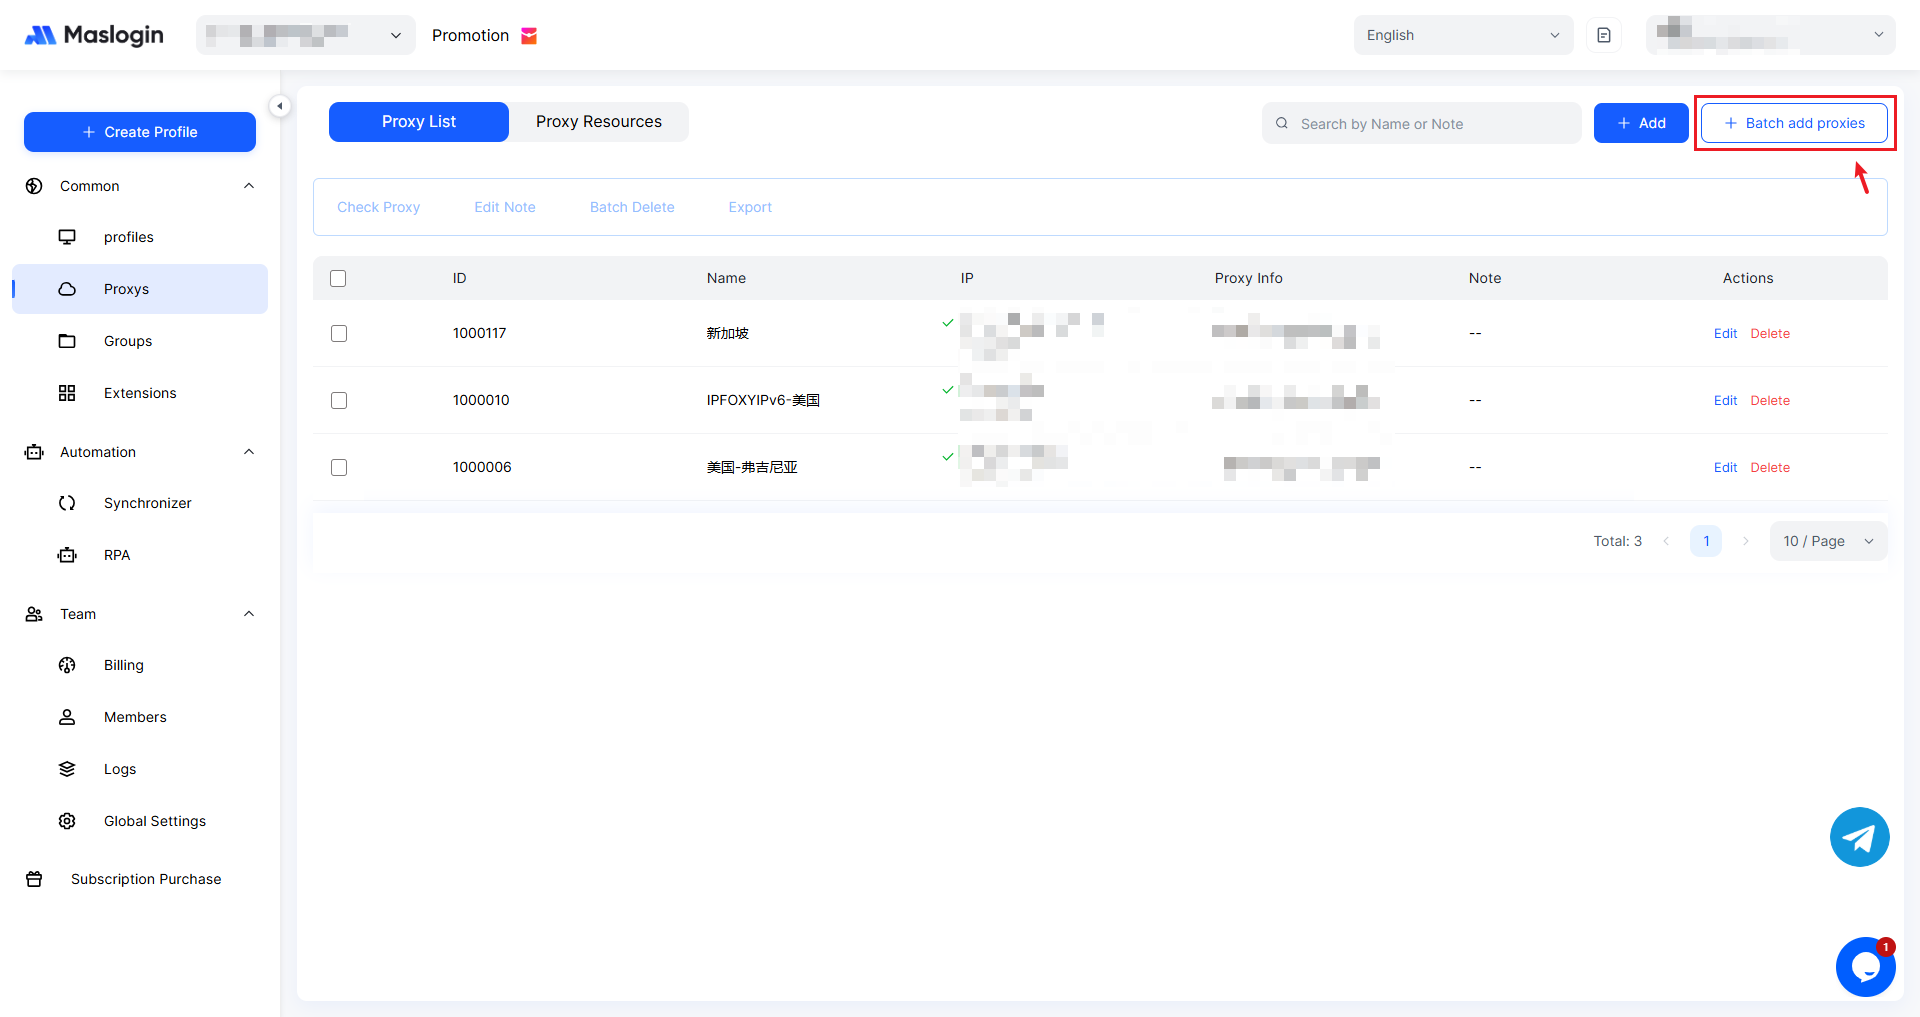
How to Batch Add Proxies
On the proxy list page, click 【Batch Add Proxies】.
Follow the batch format to enter proxy details, then check the proxies.
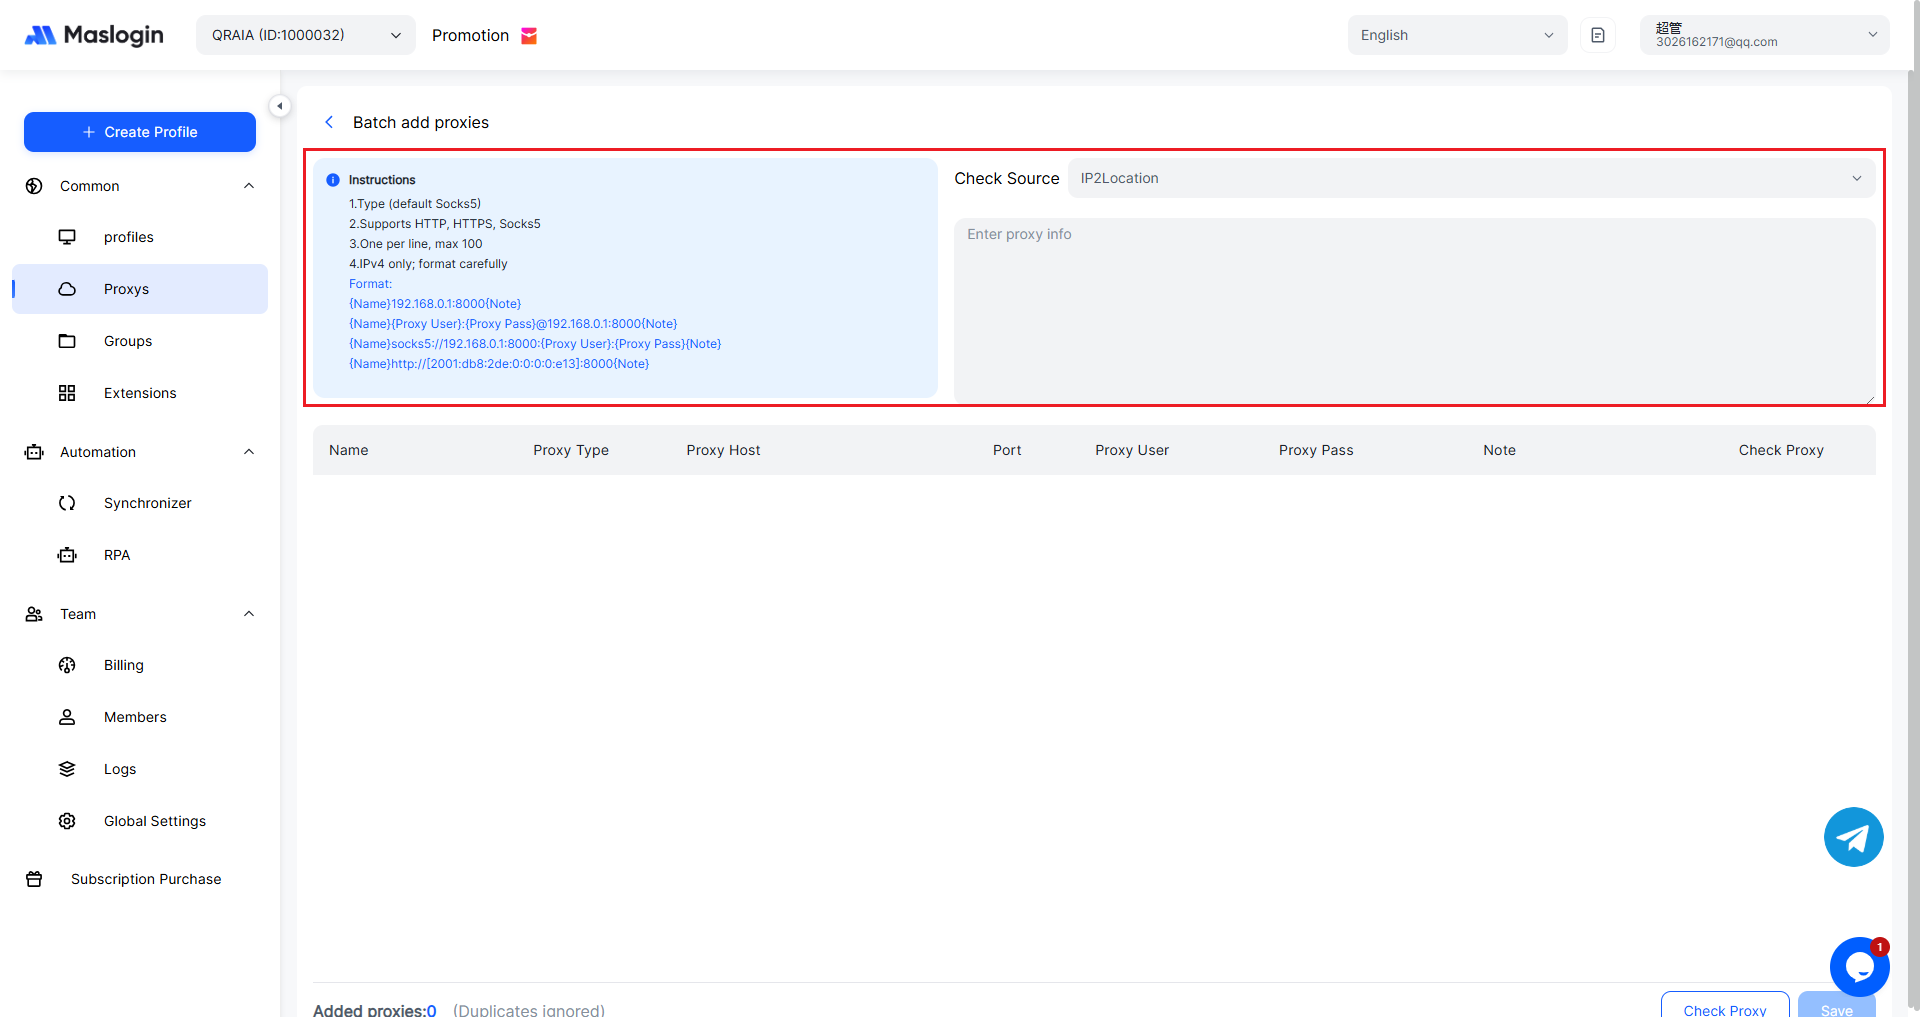
【Input Requirements】
1. Type (default Socks5)
2. Supports HTTP, HTTPS, Socks5
3. One per line, max 100
4. IPv4 only; format carefully
【Input Format】
{Name}192.168.0.1:8000{Note}
{Name}{Proxy User}:{Proxy Pass}@192.168.0.1:8000{Note}
{Name}socks5://192.168.0.1:8000:{Proxy User}:{Proxy Pass}{Note}
{Name}http://[2001:db8:2de:0:0:0:0:e13]:8000{Note}